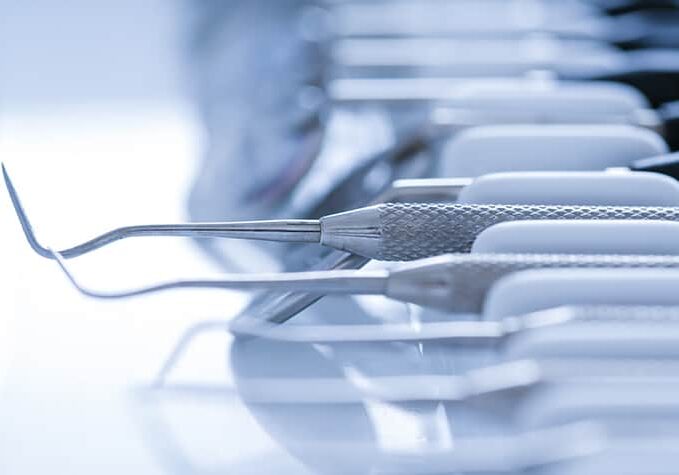
The areas in many dental offices that consume the most time are the sterilization areas, and more labor hours are lost here than actually need to be. Below are 5 sterilization area design hacks to save you time in your dental office.
1. If you have more than one station for sterilization, it’s time to condense to just one spot. How will this save you time, you ask? Instead of inventorying multiple locations, you’ll only need to take the time to inventory one room, and it will be easier to search for materials when you need them. An additional time saving hack would be to designate a space for every supply and always put things back in their assigned spots. If necessary, label everything to ensure that nothing gets placed out of order so that even new hires won’t need to waste time hunting for anything.
2. Keep a minimum of several weeks’ worth of supplies that you use in your sterilization room on hand, and as soon as you’re down to about two weeks’ worth of materials, order more. If this amount of time feels too short, keep even more supplies on hand and re-order when your supplies are down to half, or a third, or whatever you’re comfortable with. This will save you the time of having to order things over and over again.
3. Design the room based on the flow of tasks. For example, think about the system you use to sterilize your tools: at one side of the room could be a space to deposit instruments ready for sterilization, the middle of the room could be the equipment used for cleaning, and the opposite side of the room would be reserved for sterilized instruments that are ready for use. The most efficient room designs have all traffic going in the same direction so that employees in the room aren’t bumping into one another.
Did this post inspire you to look at your own sterilization area design to see where improvements could be made? If you need assistance, please call us and we’ll set up a consultation with you to see what design hacks we can help you with to save time in your dental office.
